
TED film guru gives students tips on filming presentations
By Caroline Cristal on November 25, 2014 in TED-Ed Lessons
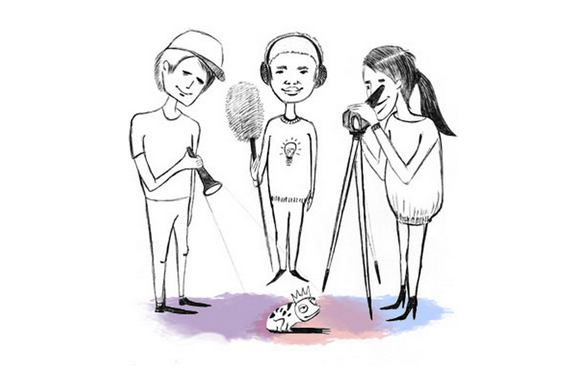
When TED first started, the conference consisted of a small group of people sharing ideas in a theater in Monterey, California. And in those early years, that’s basically where the ideas stayed. As TED continued to grow, the folks running it realized that these great ideas deserved to be shared with the world. And what better way to spread these ideas than to film them and make them available for free online for everyone to see? Within TED-Ed Clubs, we encourage students to capture their big ideas on video so that they can also share them with the world. While filming a presentation can initially seem like a daunting task, we called in TED Production Lead, Angela Cheng, to help TED-Ed Clubs get comfortable behind the camera.

Angela hard at work. Photo by Ryan Lash
Angela guided TED-Ed Club Members and Facilitators from Kansas, England, Argentina, India and New Jersey through a 10-step plan for filming a presentation, no matter what type of equipment, space, or editing materials you might have available. Paying specific attention to the participants’ specific media set-ups (which included everything from using high-tech A/V equipment in a theater to filming with a digital camera in a classroom), she provided advice on how to get the perfect shot.
A few of the main pointers:
- Determine how many cameras you’ll be using to film. This will impact how the room is set up, where to place the camera and what type of shot to use.
- Use a tripod. Leave the hand-held filming to the horror movies and skateboarding videos. If you don’t have a tripod handy, it’s really simple to make one at home!
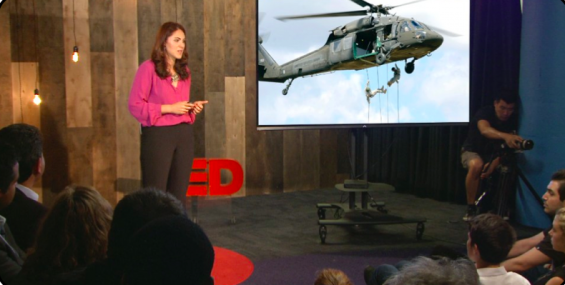
- Consider the frame. A wide shot will show the speaker and the visuals, while a medium shot or close-up is reserved primarily to just see the speaker. Wide shots (like the one pictured below) are the best option if you are not able to edit the final video.
- If showing visuals like Keynote, PowerPoint or Prezi presentation, don’t put the speaker in front of the visuals. This puts a shadow on the speaker, who is the most important part!
- Use a floor plan. Whether you have to draw one or you have access to an actual floor plan, this will help you determine where to place the camera, the speaker and any visuals.
Tip: when using an iPad or iPhone, turn the device on its side to get a wide shot.
For more tips and details on filming a presentation, watch the whole workshop below:


This is useful and easily to understand. Thanks
Dear Angela and Your associate Friend ,
I want to volunteer to record any Ted Talks in greenville,sc or in any other city in South carolina or North Carolina may be Charllotte
And I am Interested in investing my own money to buy list of all Equipments like Professional Video cameras up to 3 cameras, Lighting and special Audio equipments to record high quality
I think there is one Ted club in Greenville sc
Can you get me List of equipments to buy from H & B Photos in New York
I have Imovie and Final cut pro s/w which I can use it
My name is Rajni Patel and cell ph 864-363-5550 in Greenville sc
Thank you very much for Filming Ted Talk seminar on line
Please reply my previous email
List of toatl equipments require
I will help local students chapter to record Ted talk
Thanks for sharing those tips! Very well said.